Deploy GLPI + FusionInventory on Ubuntu 18 LTS
GLPI is an open-source IT Asset Management, issue tracking system and service desk system. This software is written in PHP and distributed as open-source software under the GNU General Public License. GLPI is a web-based application helping companies to manage their information system.
Prerequisites:
- OS Ubuntu 18.04.4 LTS
- RAM 4GB
- CPU 4
- Disk 80GB
- 1 NIC
Get Information about a VM

1. Update Ubuntu
sudo apt-get update2. Install MariaDB
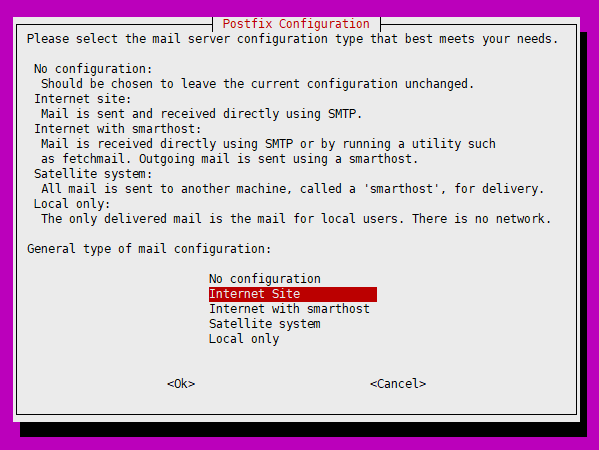
sudo apt-get install mariadb-server mariadb-client
sudo mysql_secure_installation 

After the installation, Login to the database as root user.
sudo mysql -u root -p
 UPDATE mysql.user SET plugin = ‘mysql_native_password’ WHERE User = ‘root’;
 FLUSH PRIVILEGES;
 EXIT;
Create a database and user for GLPI
mysql -u root -p
 CREATE DATABASE glpidb;
 CREATE USER ‘glpiuser’@’localhost’ IDENTIFIED BY ‘glpipwd’;
 GRANT ALL ON glpidb.* TO ‘glpiuser’@’localhost’ WITH GRANT OPTION;
 GRANT SELECT ON `mysql`.`time_zone_name` TO ‘glpiuser’@’localhost’;
 FLUSH PRIVILEGES;
 EXIT;
3. Install PHP and Apache
sudo apt-get -y install php php-{curl,gd,imagick,intl,apcu,recode,memcache,imap,mysql,cas,ldap,tidy,pear,xmlrpc,pspell,gettext,mbstring,json,iconv,xml,gd,xsl,zip,bz2}
sudo apt-get -y install apache2 libapache2-mod-php wget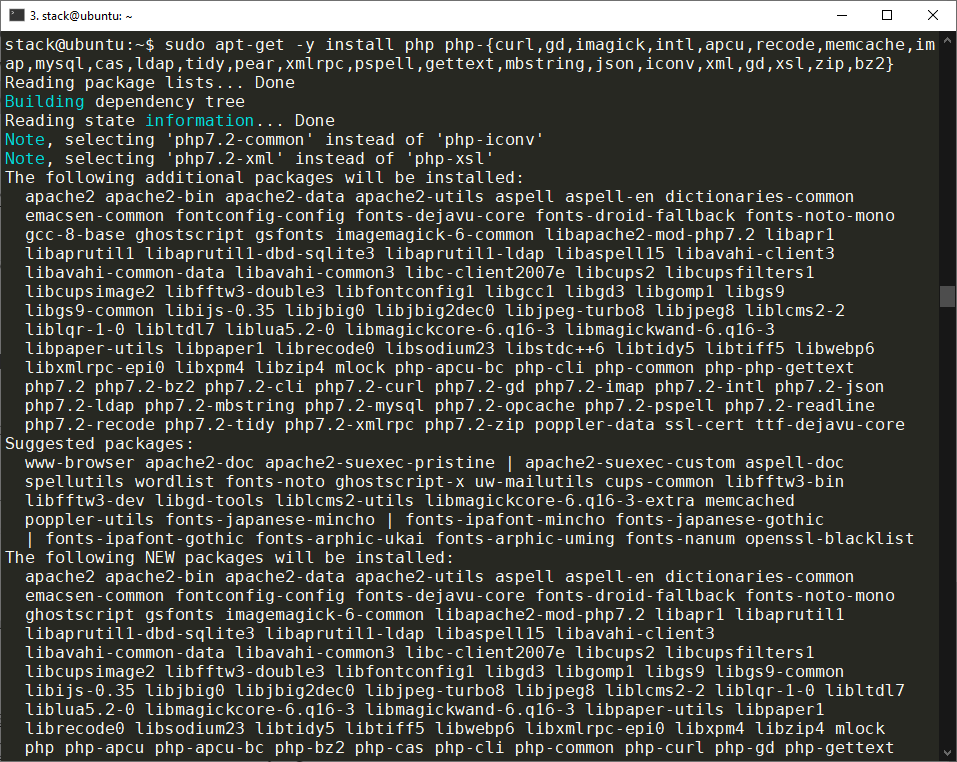
4. Download and Install GLPI
cd /var/www/html
export VER=”9.5.5"
sudo wget https://github.com/glpi-project/glpi/releases/download/$VER/glpi-$VER.tgz
sudo tar xvf glpi-$VER.tgz
sudo chown -R www-data:www-data /var/www/html/glpi
sudo systemctl restart apache2
sudo systemctl status apache2
Access Apache web server:

5. Finish GLPI installation
Access http://192.168.1.222/glpi/install/install.php to continue GLPI Setup:

Accept License terms and click “Continue“.

Choose “Install”

Confirm that the checklist for the compatibility of your environment with the execution of GLPI is successful.

Configure database connection setup.

Select glpidb database to initialize


The installation is finished, click “Use GLPI” to start using GLPI

Now, see the login page:
Default user accounts are:
* glpi/glpi for the administrator account
* tech/tech for the technician account
* normal/normal for the normal account
* post-only/postonly for the postonly account

GLPI Homepage:

#Post Installation:
Set Timezone:
mysql_tzinfo_to_sql /usr/share/zoneinfo | mysql -p -u root mysqlOn the first login, you’re asked to change the password. Please set a new password before configuring GLPI. This is done under Administration > Users.

Remove file installation:
sudo rm -rf /var/www/html/glpi/install/
Change password for default users:

After that, a warning sign will disappear

#Add Plugins:
Fusion Inventory

cd /var/www/html/glpi/plugins/
sudo wget https://github.com/fusioninventory/fusioninventory-for-glpi/releases/download/glpi9.5%2B3.0/fusioninventory-9.5+3.0.tar.bz2
sudo tar xvf fusioninventory-9.5+3.0.tar.bz2
On GLPI dashboard choose Setup → Plugins

Choose Install on folder with “+” sign

Waiting for installation

Enable Fusion Inventory Plugin


On GLPI dashboard choose Administration → FusionInventory

Set cronjob to disappear a warning sign
crontab -eAdd in crontab then restart cron service:
* * * * * /usr/bin/php7.2 /var/www/html/glpi/front/cron.php &>/dev/null
sudo service cron restart
#Install fusioninventory-agent on Ubuntu
Install fusioninventory-agent and other dependencies:
sudo apt-get install dmidecode hwdata ucf hdparm perl libuniversal-require-perl libwww-perl libparse-edid-perl libproc-daemon-perl libproc-pid-file-perl libfile-which-perl libxml-treepp-perl libyaml-perl libnet-cups-perl libnet-ip-perl libdigest-sha-perl libsocket-getaddrinfo-perl libtext-template-perlsudo apt-get install nmap libnet-snmp-perl libcrypt-des-perl libnet-nbname-perlsudo apt-get install libfile-copy-recursive-perl libparallel-forkmanager-perlsudo apt-get install fusioninventory-agent fusioninventory-agent-task-network fusioninventory-agent-task-deploy fusioninventory-agent-task-esx
Configure the agent:
sudo nano /etc/fusioninventory/agent.cfgUncomment #server = http://server.domain.com/glpi/plugins/fusioninventory/
change with
server = http://192.168.1.222/glpi/plugins/fusioninventory/Run fusioninventory-agent:
sudo fusioninventory-agent
Now check on GLPI dashboard, the asset has been identified


Thanks and Let’s get your hands dirty
:)
References:
- https://computingforgeeks.com/how-to-install-glpi-on-ubuntu-linux/
- https://wiki.glpi-project.org/doku.php
- https://fusioninventory.org/documentation/agent/installation/linux/
- https://nikulsinhbapu.blogspot.com/2017/12/install-fusioninventory-agent-on-ubuntu.html
#opensource #glpi #ubuntu #linux #ITAssetManagement